Three Pulley In-Flight Outhaul Kit
258K$49.00
Product Details
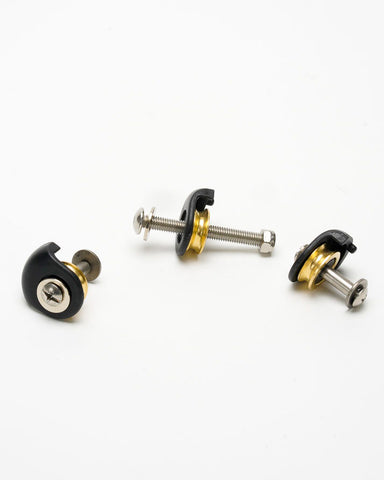
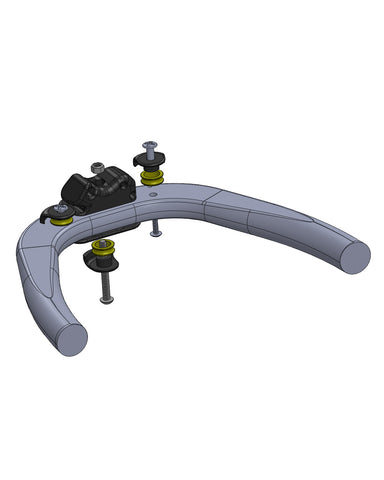
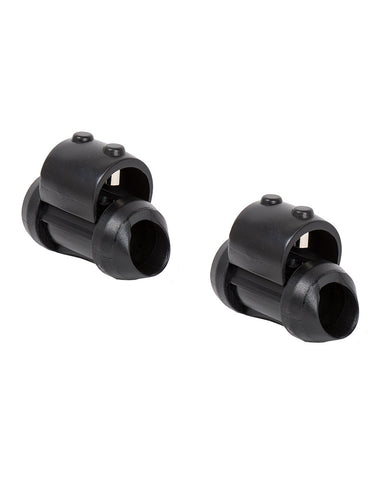
The Chinook Sailing Three Pulley In-Flight Outhaul kit adds 3 pulleys to the new Loop & Go outhaul block on Chinook Carbon booms so that you can use adjustable outhaul systems or spiral lacing on sails with built in clew blocks.
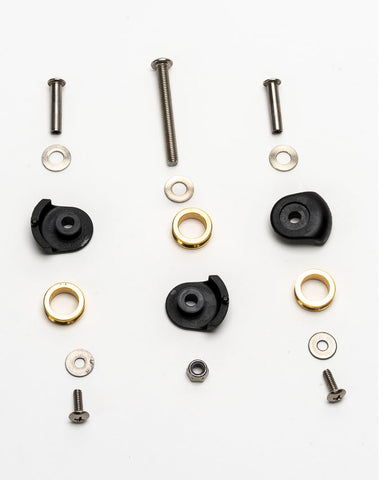
Kit contains:
- 3 ea. “Cheek Block” housing w/brass sheaves.
- 3 ea. M5 fender washer
- 2 ea. 6-32 Truss head machine screws.
- 2 ea. #6 fender washer
- 2 ea. 3/16” x 6-32 binding posts.
- 1 ea. M5 x 45mm socket head cap screw.
Instructions:
Tools needed: #2 Phillips screwdriver, M5 Allen key, wire cutter or utility knife, Red Loctite (272/277).
Remove the existing 35mm socket head cap screw without removing the loop & go block from the tail. Careful not to lose the M5 lock nut.
Place M5 fender washer on top of cheek block housing, install sheave into housing & align over hole in existing loop & go block.
Replace 35mm cap screw with new 45mm cap screw & tighten until sheave can still spin. Make sure the M5 lock nut has stayed seated in the recess of the loop & go block.
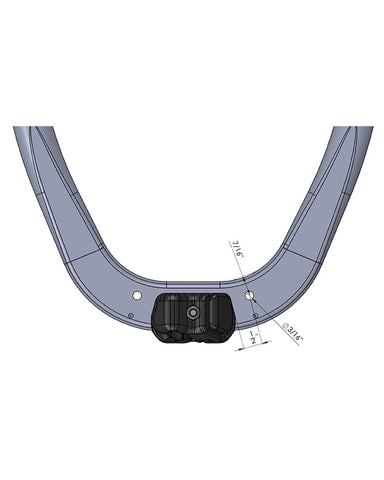
Make a mark on each side of the block approximately 1/2”(12mm) away from the edge of the block & approximately 7/16”(10mm) away from the inside edge of the tube.( see figure )
Using the marked locations, drill two 3/16” holes all the way through the tube.
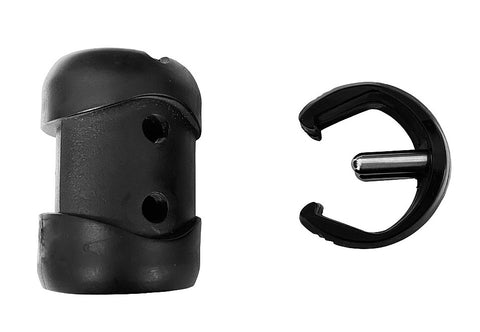
Clip the small boss off the bottom of the two remaining cheek block housings.
Place M5 fender washer on top of cheek block housing, install sheave into housing, slide the binding post through the top of the housing, & align over hole in top side tube(opposite side as the other pulley).
Place the #6 Fender washer on the 6-32 Truss head screw, apply Loctite to the screw & thread into the binding post.
Align the cheek block housing so that the open side is facing the inside of the boom tail so the rope can enter easily & tighten until sheave can still spin. Repeat on the other side.
Similar items





Stay Connected